


The cut perspex has arrived from acrylic-online.co.uk. I'm pleased to say that it fits the marquee and bezel gaps perfectly.
For the marquee I borrowed the great design from angel88888 over on the overclock.net forums. His post is here: http://www.overclock.net/t/1436501/hyperspin-arcade-machine-lots-of-pics
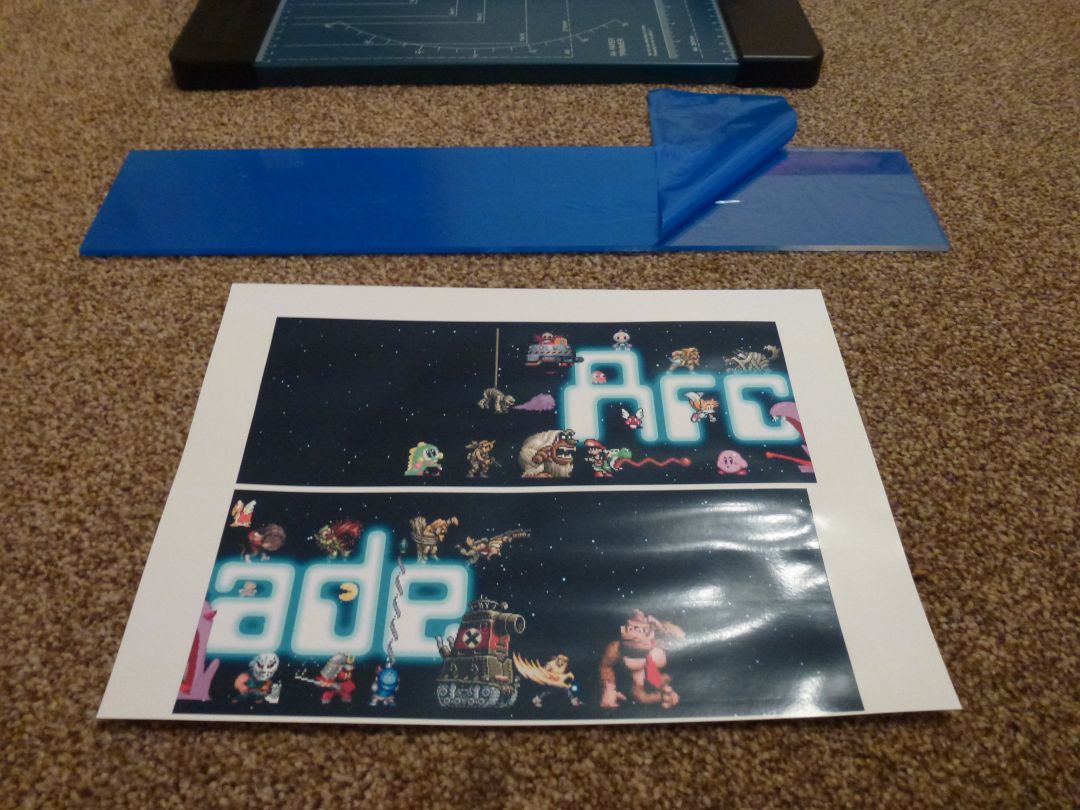
I had to crop the image a bit of fit my cabinet. Cropped version is at the bottom of this post.
To print, I just used my inkjet printer, it came out pretty well (in 2 piece's). You can just see the join, I may get it reprinted at work on A3.

Here is the finished marquee in the cabinet.


The next part was the bezel. My original plan was to paint the back of the perspex with black paint, but, I had a change of plan. As this seemed a little permanent. If I changed my mind for a printed design, I would need new perspex cut. I decided to experiment with suger paper. I raided my daughters craft box and found some red paper (I was looking for black). Once all cut and sellotaped (true bodger) i was surprised how professional it looked. I may even keep the red design, what do you think ? photos below.

Here is the finished design.

That's my arcade machine built! phew. I still have the base to paint and fit a door on the front, but that's something for later in the year. Cropped banner design by angel88888 below.
