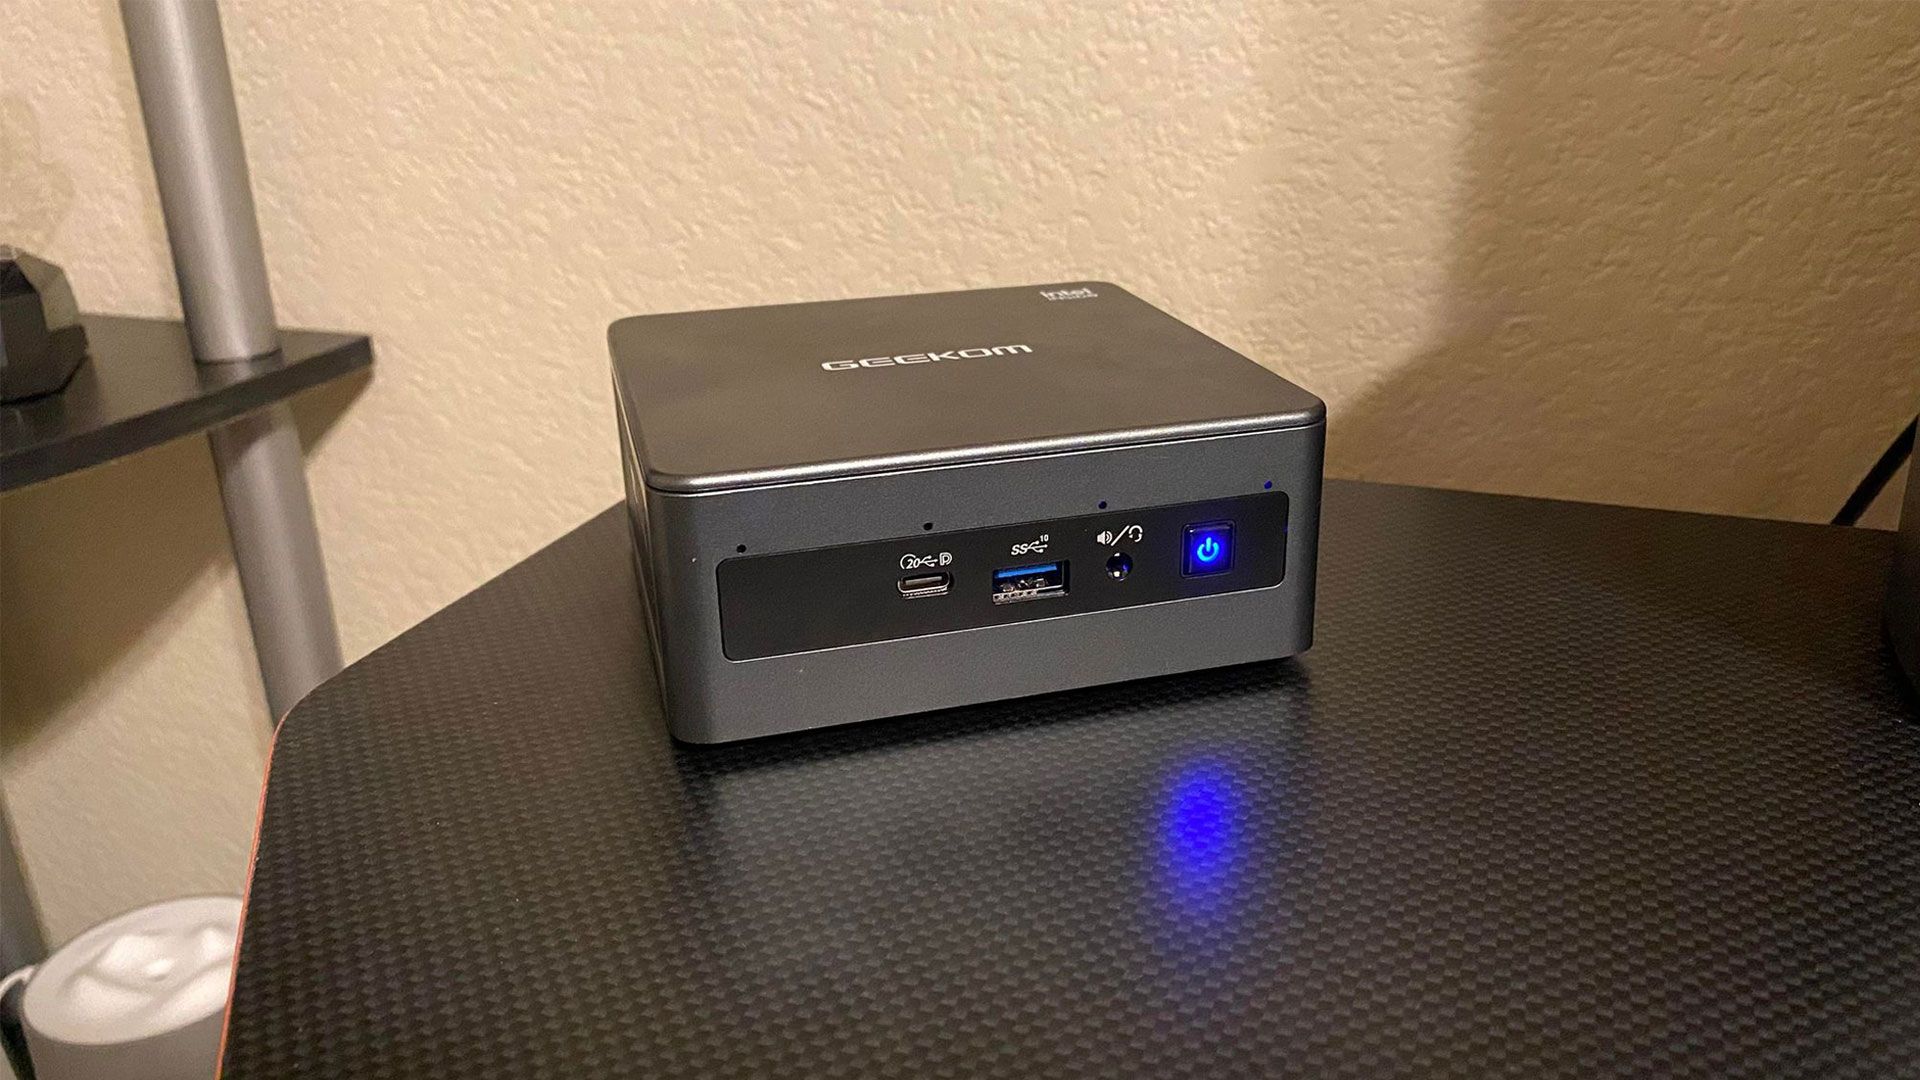
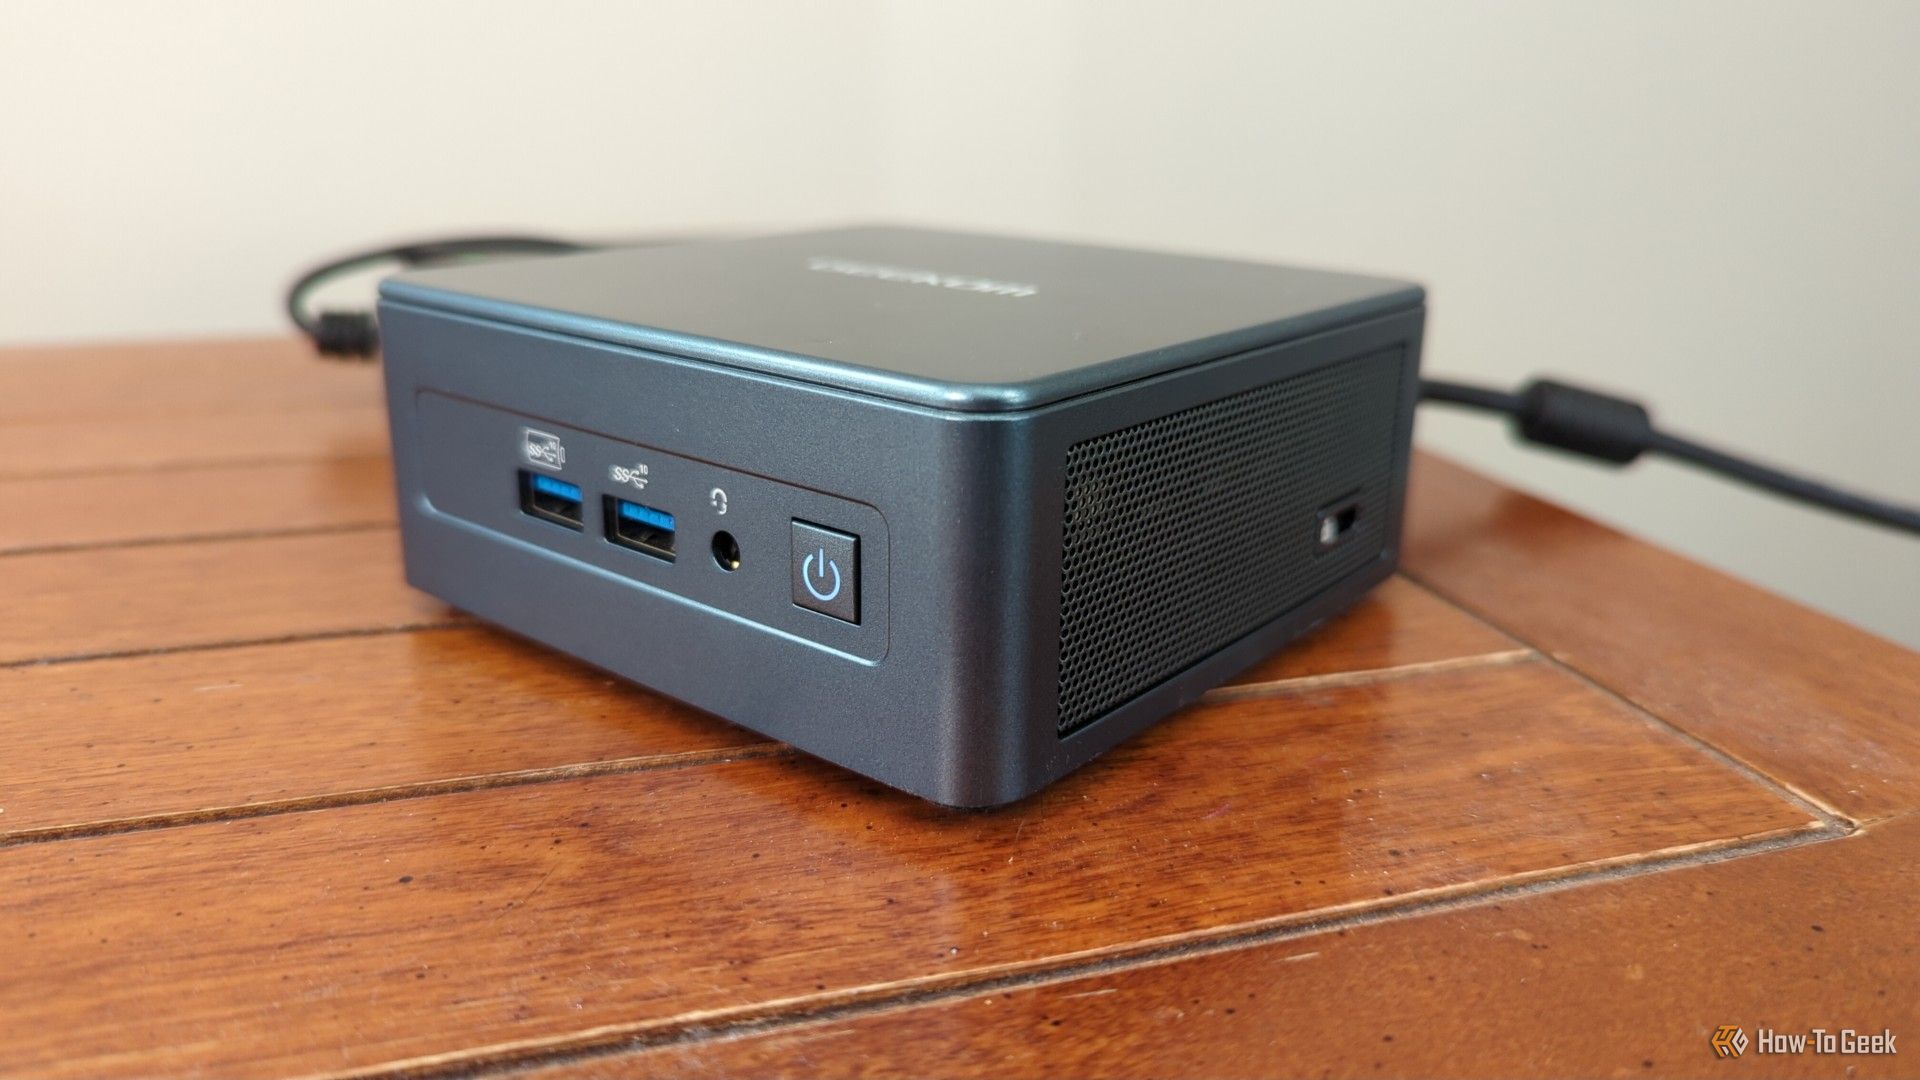
I decided recently to get a prebuilt mini PC for some projects and experiments, but I wanted to save a bit of cash in the process. Instead of buying brand new, I shopped eBay for a secondhand device and found a good deal—or at least it looked that way, until I took these steps.
First, I Inspected for Physical Damage
After unboxing the mini PC, I first checked for damage to the body of the mini itself. I especially wanted to make sure none of the ports were crushed or pushed in. I confirmed the power cord wasn't chewed or torn with any exposed wire either.
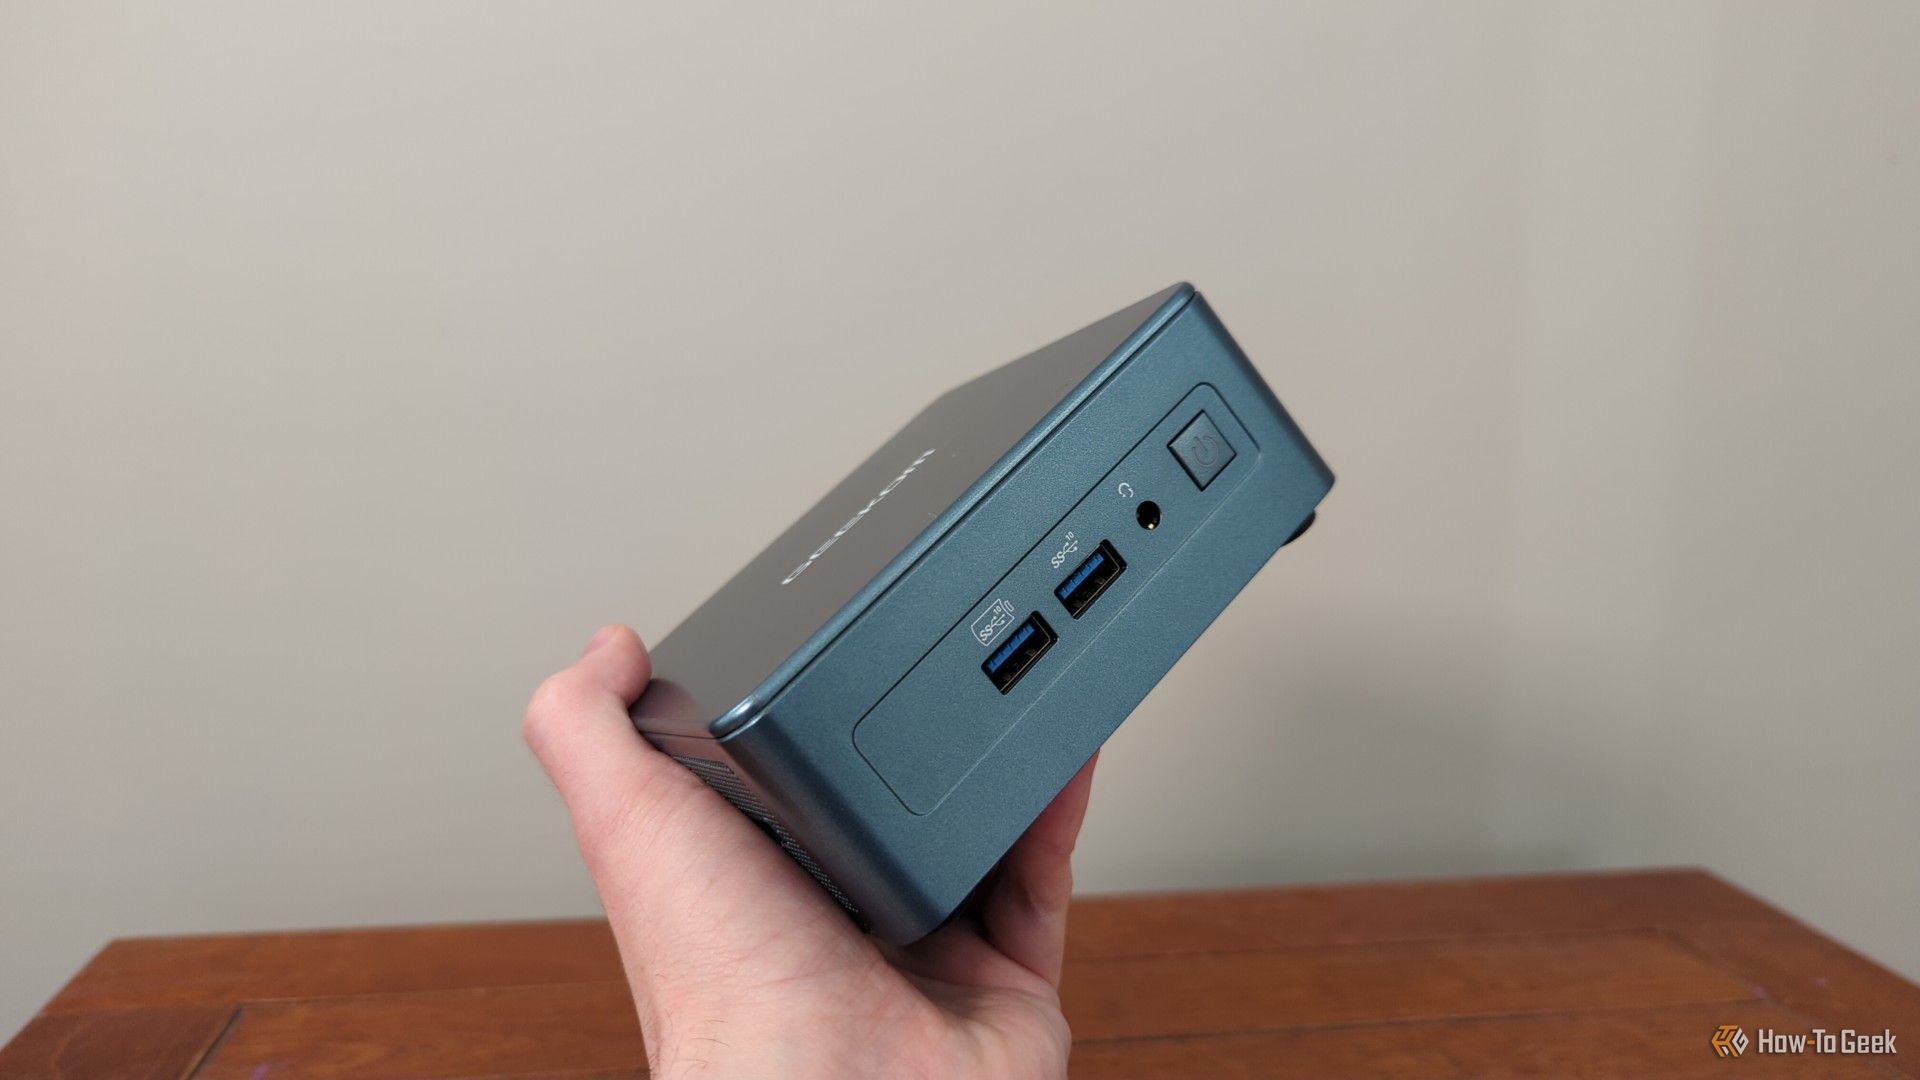
Fortunately, everything appeared to be in order. There were some scuffs on the power cord's PSU and on one corner of the PC, but I'd seen all of that in the product photos. None of it looked like it was causing any penetrative damage, so I felt confident moving to the next steps.
Confirmed the Installed Operating System
Sometimes sellers don't know what software is on the PC they're selling. I can speak from experience here, as a person who formerly managed an eBay store for a resale business. I wasn't an expert on everything, so I understand how someone with limited technical knowledge might mistake the operating system they're looking at.
In this case, the seller advertised that it had Windows 11 Pro. So I booted it up, went through the setup process, and immediately launched the System Information tool. That window showed me confirmation I was using Microsoft Windows 11 Pro.
Stop Buying Cheap Laptops, Save Money By Doing This Instead
Ultra-cheap laptops shouldn't even exist.
If I'd seen that it was Home edition, or if the mini PC had booted into a completely different operating system, like Ubuntu Linux or a modified version of Windows, then we'd have a problem. Legitimate Windows licenses aren't cheap, especially the Pro edition, so I didn't want to pay for something I didn't get.
Checked the Actual Specs
Next, I compared the device's hardware specs Windows was showing me to those advertised in the eBay listing. In addition to showing you which version of Windows you're running, the System Information window will also show you all kinds of info about the hardware you're using.
I'm glad I did this because I was greeted with an unhappy surprise: the device I'd received carried only 16GB of RAM and 500GB of storage. That was half the 32GB RAM and 1TB SSD storage the seller promised. What's more, System Information shows a computer model name, and from that I learned that I was sold a different model entirely. The halved specs matched the base configuration of that other model. Uh oh.
How to Check Your PC's Specs on Windows 11
Check yourself before you wreck yourself---thanks to Settings.
Looking up both the model the seller promised and the one I got, they admittedly look almost identical except for the chassis using a slightly different shade of blue-gray. So, again, I could easily see a careless eBay lister simply misidentifying it in a rush and copying over the specs instead bothering to confirm them.
The seller didn't allow returns, so I documented and politely explained what I'd discovered to the seller, requesting a partial refund in what seemed like a fair amount. I found a recent similar listing that had sold the same model for far less than I'd paid, and I included a link to that in my message. They agreed to refund me the difference, so while I didn't end up with the specs I wanted, I still avoided getting ripped off.
In the future, I'll definitely be asking for a screenshot or, better yet, a photo of the PC next to a monitor showing the System Information window.
Scanned the Hardware for Errors
I was stuck with the computer hardware I had, and I was aware hardware can develop issues over time. The model was only a year old, but you never know what kind of wear and tear a device has been through under its previous owner. Fortunately, Windows has built-in tools for checking both the memory sticks and storage drives for errors that will affect performance and reliability.
The easier job is checking disk health, so I ran a quick SMART disk analysis. There are several ways you can do this, but I opted to use a simple command-line method. I opened Command Prompt in Windows and issued this command:
wmic diskdrive get status
It's a built-in tool for Windows that will either give you an "OK" message for each drive in the device or flag issues for each. I fortunately got all OKs, but if I hadn't, I would have investigated with more advanced tools.
Checking for memory errors is important, but it takes more time, so I did that next. Windows provides a built-in Memory Diagnostics tool that will test your RAM for problems and let you know if there are issues to worry about. So I launched that program, which involves restarting the PC and waiting for several minutes.
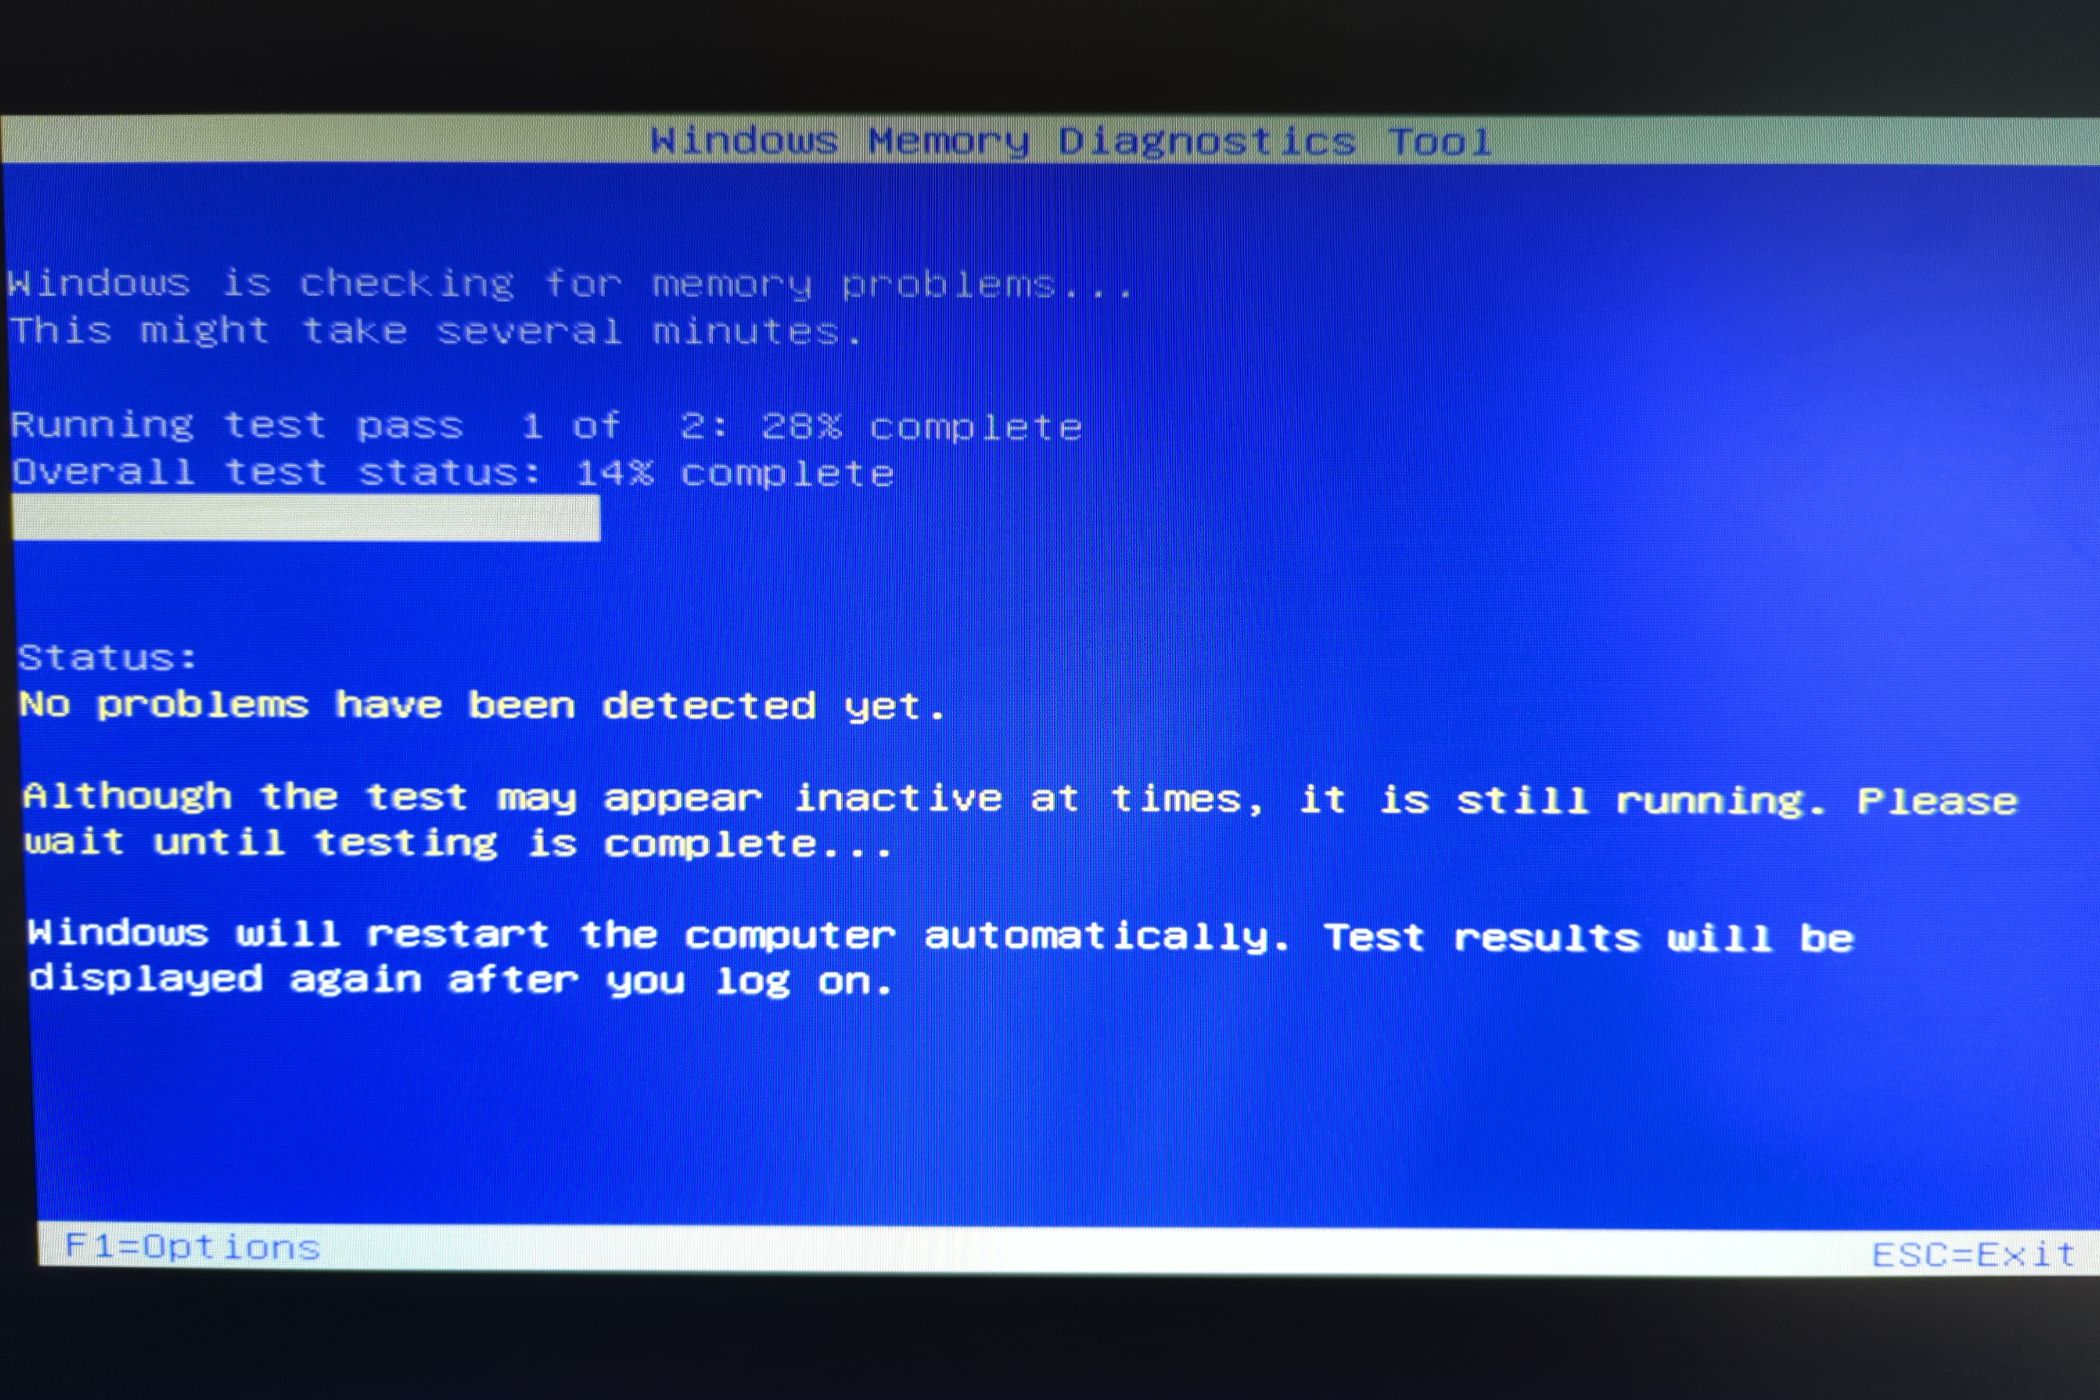
I walked away, and when I'd returned, the mini PC had rebooted itself after finishing the scan. That meant I had to look up the scan results in Windows Event Viewer. Fortunately, I got an all-clear message, so I was almost ready to put this tiny PC into action.
Opened and Cleaned the Internals
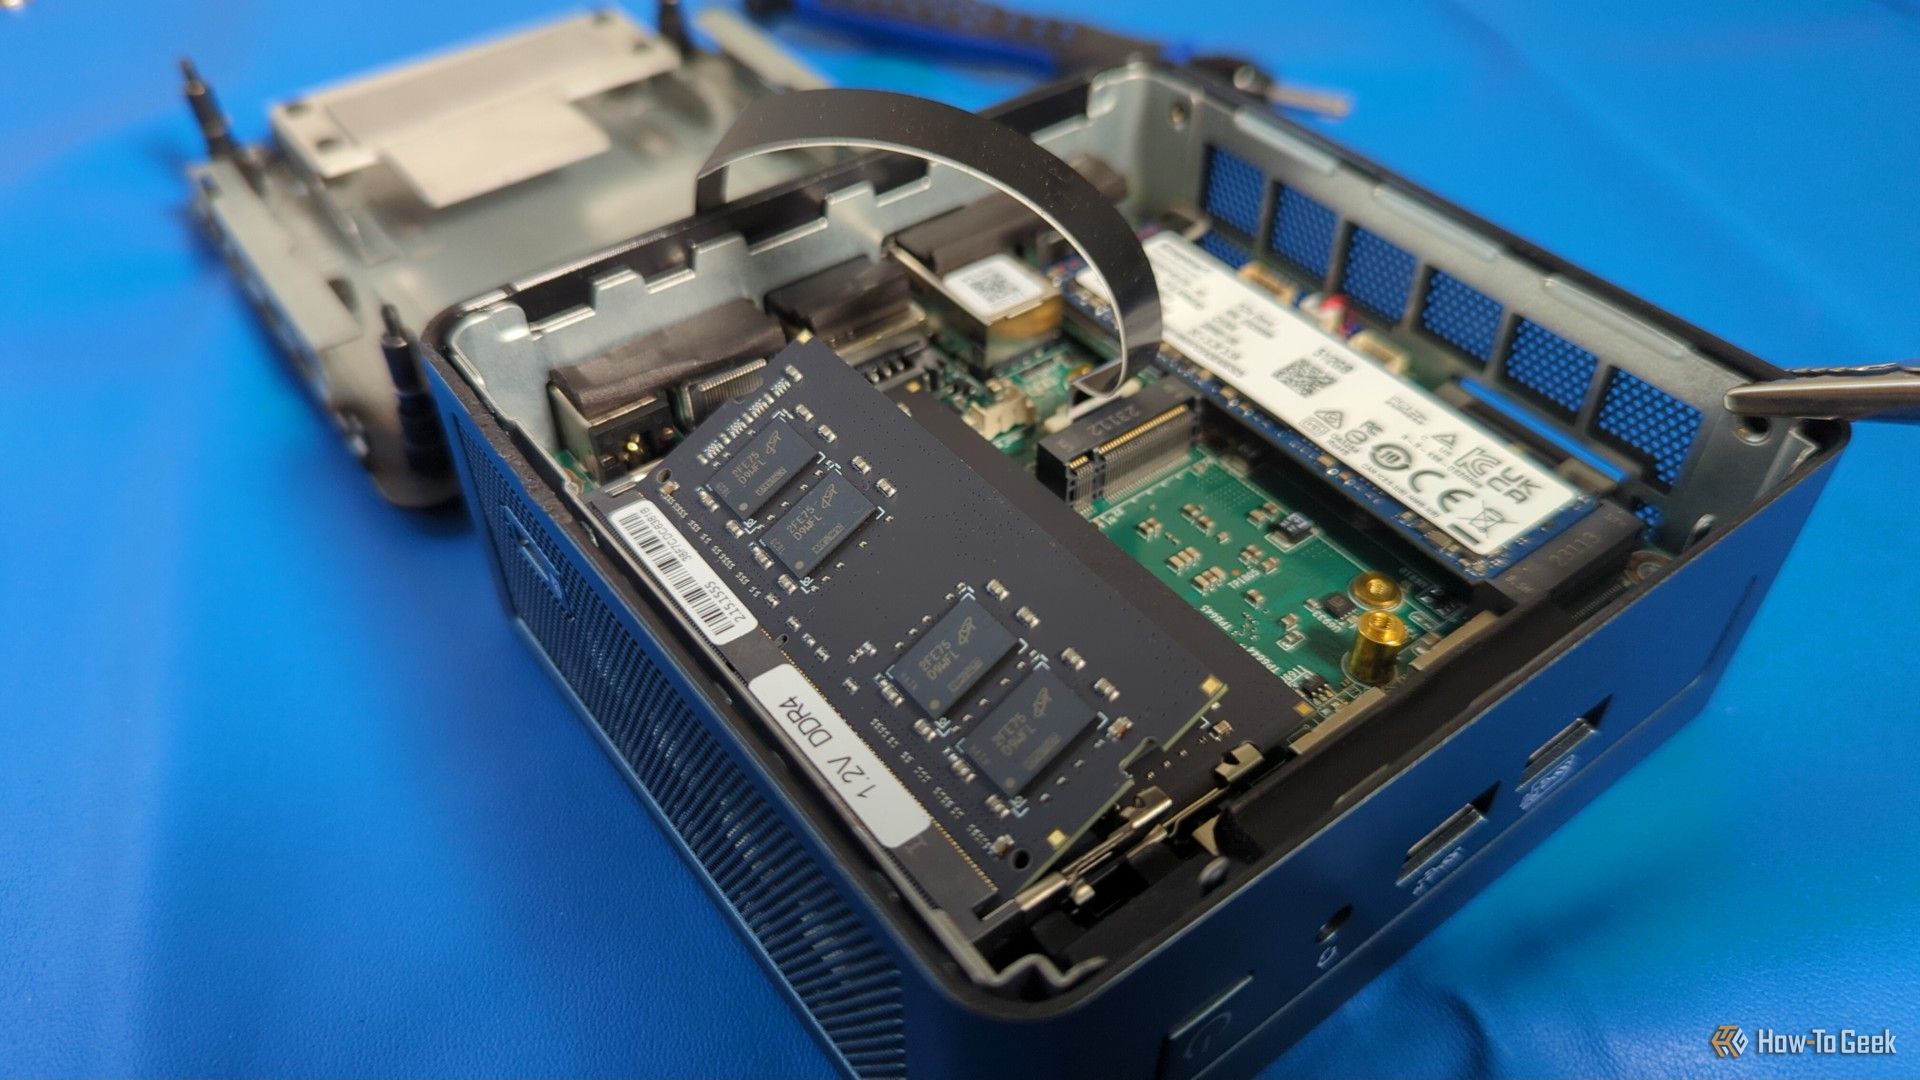
My final move was to open up the mini PC. You could do this earlier in the process, but out of an abundance of caution, I prefer to do it after gaining confidence I have no reason to simply resell the device. Opening up a computer always involves risks, and I didn't want to take those risks until I was ready.
My first goal was to make sure I couldn't identify any physical defects or irregularities with the internal parts. I looked up the mini PC's user manual online to make sure I was opening the device properly and strapped on my anti-static bracelet.
Once it was open, I looked around to make sure nothing seemed loose or frayed or otherwise damaged. I also wanted the PC to work optimally from the start, so I used a can of compressed air to get rid of dust inside too.
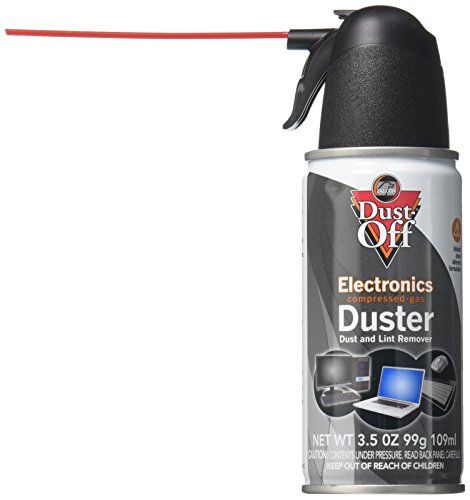
Falcon Dust Off Compressed Air Can
This can of compressed air is perfect for safely cleaning your electronics, and the can is compact enough to fit in your computer desk.
While I was in there, I wanted to upgrade the mini PC's RAM to maximize performance, which was easy to do. With 32GB of notebook-grade RAM from my local Micro Center, I installed the upgrade before closing it up tight again.
Having gone through my list of checks, and the issue I found resolved with the seller, I was ready to start putting my mini PC to use. There's a lot I'm looking forward to trying, including seeing how easy it is to replace my laptop. After saving up a little more, I'd also like to try attaching an eGPU to the mini PC for times when I need serious computing performance.


